For Jackson's birthday this year I wanted to do something a little bit different for his birthday cake, so when I saw these adorable cake pops on Bakerella's website I knew I just had to give them a try! These just seemed like the perfect dessert: easy for little hands to hold and not a lot of cake left to waste. Plus for adults, who generally don't want a whole piece of cake themselves, can enjoy that sweet little end of the meal without feeling like they went overboard.
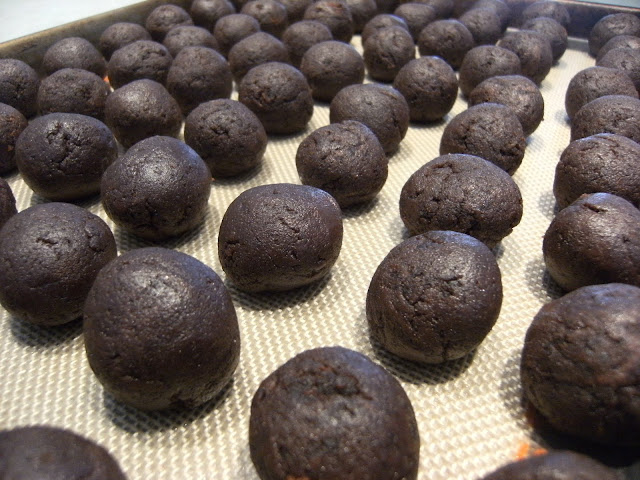
First you take a box of cake mix and bake as directed for a 9x13 pan. After you bake the cake, let cool completely. I chose to bake it in the evening and let it cool over night. Once cool, crumble into a large bowl and mix with about 3/4 of a tub or store bought cream cheese frosting. I use the back of a large spoon, but Bakerella suggests even using your fingers. This can get a bit messy, but no biggie. That is part of the fun in baking, right?! Roll mixture into quarter-sized balls and place on a baking sheet that has been lined with waxed paper or a Silpat. You should get anywhere between 50-65.
Chill for several hours in the fridge or about 15-20 minutes in the freezer. Be sure not to freeze, you just want them to get super cold. Meanwhile, melt your chocolate or candy melts in the microwave or double boiler according to package directions. Dip the very tips of the lollipop sticks into the melted chocolate and insert them just past halfway into your cake balls.
I found this whole process worked best if I kept all of the cake balls in the fridge and just pulled out what I needed. As they warmed up they softened and started slipping off the sticks. Next is the fun part! Very gently dip your cake pops into the melted chocolate while slowly twirling and tapping on the side of the bowl to remove the excess chocolate. My first ten or so seemed to take me ages to get just right, but then I got a great system down and I flew through the rest. Make sure you cover the ball completely and the very top portion of the stick to help secure it.
While the chocolate is still warm add your sprinkles, candy crunches or whatever you want on the outside for extra yumminess. Insert stick into a large piece of styrofoam and let harden in the fridge. The first few I did I was letting them cool on the counter and they got a white spottiness to them. Once I moved them to cool in the fridge the candy melts hardened smooth and silky.
Once they are completely cool, they can be stored in an airtight container for a few days on the counter or even longer in the fridge.
Enjoy!
These were a huge hit and I am already thinking of other reasons I have to make these again! There are so many different options and flavors you can do. Be sure to check out Bakerella's website so you can see all of her recipes and the many amazing pictures of her own Cake Pops- they super inspiring!
I think these would be the perfect dessert for a baby shower, don't you?! So ladies, start popping out those babies so I have another reason to make them! *wink, wink*
*Because of being so super busy in preparation to Jackson's birthday parties I didn't get an opportunity to post this past Friday's, Feasting with Friends. Please be sure to check back this week when I start up again to hear all about my wonderfully amazing friend Adrianne Bailey.


Seriously - so cool! I've told a million people about this already. How on earth did you take that pic? Love it! Thanks again : )
ReplyDeleteThanks Hannah!! The picture is just me looking down on the lollipop tree while it was sitting on the foot stool. But it did turn out groovy, huh?!
ReplyDeletewow!!! definately going to try this!!! looks super yummy!!
ReplyDeleteI first discovered these in college - Iowans love to make cake balls! They are absolutely amazing and so very easy to make. My favorite is lemon cake with vanilla frosting.
ReplyDeleteOh Megan, lemon cake with vanilla frosting sounds so refreshing and yummy! I think those will have to be my next batch! Now I just need to find a reason to make them again!
ReplyDelete